


Face Painting Brushes: Which Brush Does What — Round, Angle and Flower Brushes Explained
One of the most common mistakes beginners make is using too many different brushes without understanding what each one is for — or not enough brushes and trying to make one do everything. Leanne Courtney designed her complete range of face painting brushes specifically so that every design she paints can be done with a clearly defined set, each with a known purpose. This guide covers every brush in the Leanne’s Rainbow range — what it is, what it does, and exactly which designs it is used for.

The Complete Range at a Glance
| Brush | Primary Role | Key Designs |
|---|---|---|
| No. 2 Round | Fine detail and thin outlines | Starbursts, delicate flourishes, thin colour outlines, fine whimsical line work |
| No. 3 Round | The workhorse — teardrops and swirls | Teardrops, swirls, standard line work, butterfly edging, princess crown detail |
| No. 4 Round | Larger teardrops and dots | Bigger teardrops, dots, wave splashes, designs on larger foreheads |
| Flower Brush (3/8 inch) | Double-dip flowers and leaves | Five-petal double-dip flowers, leaf shapes, wiggle-line butterfly edging |
| 1/4 inch Angle | Small roses, edging, detail | Small roses, butterfly outline edging, designs on small faces |
| 5/8 inch Angle | Larger coverage, leaves | Larger leaves, bigger butterfly outlines, designs on larger foreheads |
| 3/4 inch Angle | One-stroke designs — the primary angle brush | Rainbows, princess crowns, butterflies, flowing cheek art, split cake designs |
| Bolt 1 inch Flat | Straight rainbows on wider foreheads | Straight rainbow arcs requiring maximum colour coverage in one pass |
Round Brushes — The Line Work Family
The three round brushes are the foundation of line work in face painting. Each is numbered by size — the higher the number, the wider the brush and the thicker the stroke it produces. All three use the same fundamental technique: load with creamy white or coloured paint, press to the desired thickness, and lift to create the pointed end of a teardrop or the taper of a line.
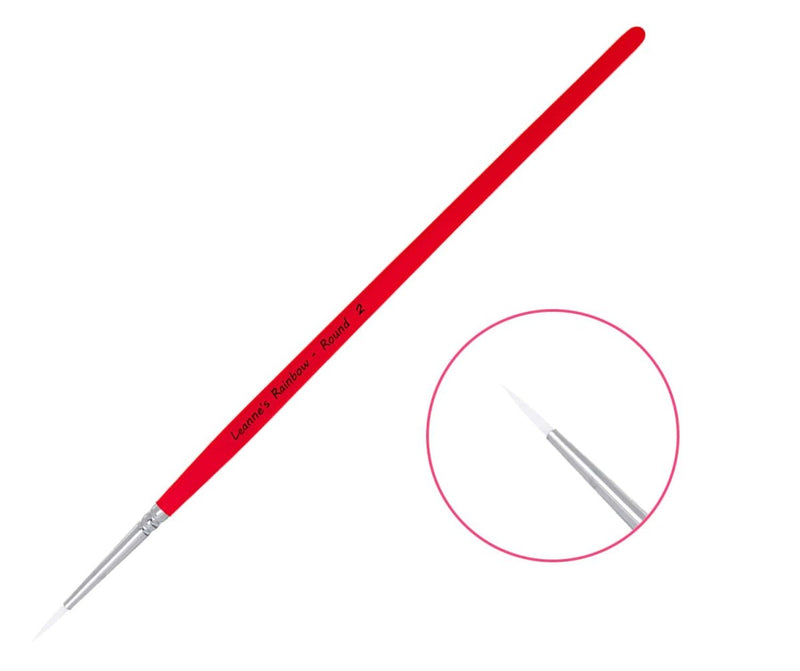
No. 2 Round — Fine Detail
The smallest of the three rounds, designed for precision work that the No. 3 is too wide to achieve. The very fine tip holds a sharp point through multiple strokes, making it ideal for the kind of detailed line work that adds a professional finish to showcase designs.
- Thin colour outlines — picking up the end colour of a split cake to edge a butterfly or rose
- Starbursts and whimsical flourishes
- Fine detail line work on designs with more time available
- Outlining in colour rather than black
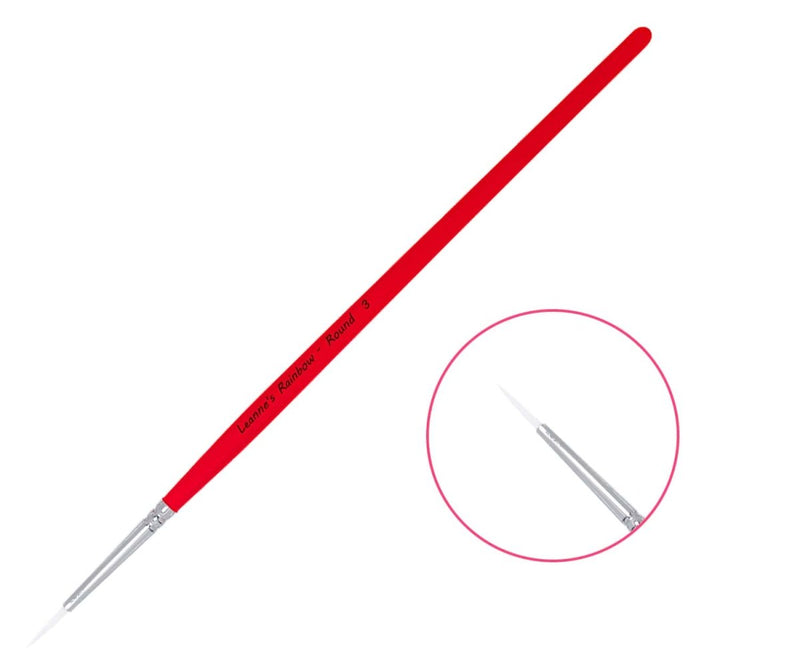
No. 3 Round — The Workhorse
This is the most important brush in the kit. Leanne calls the No. 3 round the workhorse — it handles the majority of teardrops, swirls, curved lines, and general line work across every design she paints. If you only have one round brush, this is the one.
- Standard teardrops — both straight pull-and-lift and curved versions
- Swirls and spirals
- Butterfly and design edging
- Line work detail on princess crowns, flowers, and cheek art
- Focal-point line clusters — all teardrops pointing toward the same imaginary centre
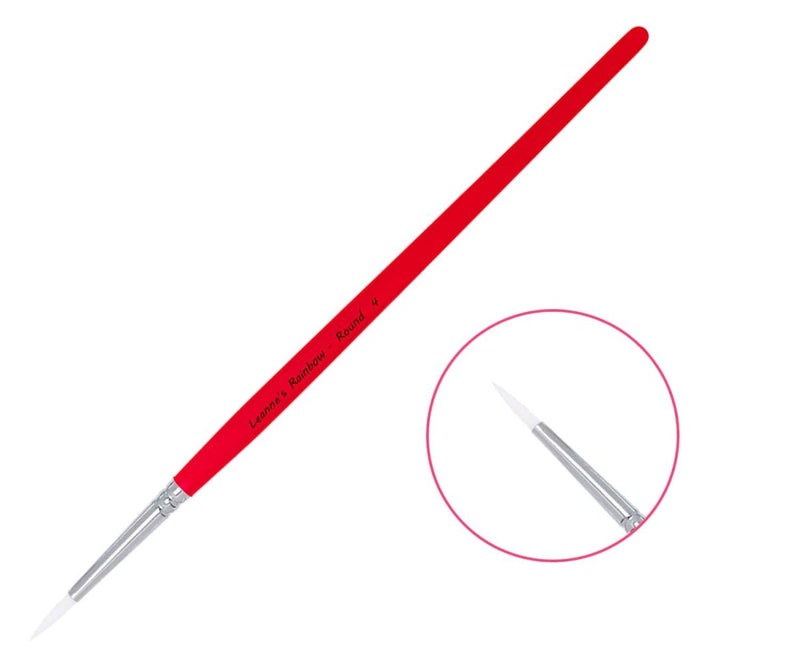
No. 4 Round — Large Teardrops and Dots
The No. 4 round produces the same strokes as the No. 3 but with more width and impact. It is specifically designed for designs on larger foreheads, for bigger teardrops that need more visual weight, and for the perfect round dots that add finishing detail to any design.
- Larger teardrops — the same press-and-lift technique as the No. 3, with more coverage
- Round dots — press straight down and lift cleanly, varying pressure to vary dot size
- Wave splash shapes for ocean and water designs
- Double-dip flower centre dots
- Designs on children with larger foreheads
The Flower Brush — Double-Dip Flowers and Leaves

3/8 inch Flower Brush
The flower brush has a flat body that narrows to a sharp, rounded point — a shape called a filbert or petal brush. This specific shape produces a natural petal when the brush is pressed flat and lifted: the wide body creates the outer petal edge and the pointed tip returns to the centre when lifted. Leanne adds the flower brush to virtually every design as the finishing element.
- Double-dip flowers — load with white, dip tip into colour, stamp five petals returning to the same centre point
- Leaf shapes — rotate sideways and press in a single curved stroke
- Wiggle-line butterfly edging — the same brush used with a side-to-side motion along wing edges
- Small rose petals with the 1/4 angle technique
Angle Brushes — One-Stroke and Split Cake Designs
The three angle brushes are the primary tools for loading and applying split cakes and one-stroke designs. The angled tip naturally creates a variety of widths in a single stroke — pressing harder spreads the bristles and widens the mark, lifting pressure narrows it.

1/4 inch Angle — Small Roses and Detail
The smallest of the three angle brushes. Best for small-scale one-stroke designs and precise edging work on smaller children’s faces.
- Small roses — wiggle-wiggle petal technique on split cake colours
- Butterfly edging — picking up the dark edge of a split cake for side-by-side outline strokes
- Small princess crown sweeps on young children
- Detail leaves alongside flower designs

5/8 inch Long Angle — Larger Coverage
The 5/8 angle picks up more colour from the split cake per pass than the 1/4 inch. Leanne uses this when a child has a larger forehead or when the design calls for bigger, more impactful one-stroke elements.
- Bigger butterfly outlines and wings
- Large leaves — pick up from dark to light green for a natural two-tone leaf
- Larger princess crowns and rainbow sweeps on bigger faces
- Heart shapes — scoop up, spin round and come down, fill with the heel of the brush

3/4 inch Angle — The Primary One-Stroke Brush
The 3/4 angle is the go-to brush for the majority of split cake and one-stroke designs. Its length gives a flowing, organic quality to strokes — the same stroke that produces a straight rainbow can be curved into a butterfly wing or swept into a princess crown with a slight wrist rotation.
- Rainbow arcs — push up, arc over the brow line, bring down
- Princess crowns — the full sweeping crown design from temple to temple
- One-stroke butterfly wings
- Flowing cheek art — all curved, organic one-stroke designs
How to Activate the White Paint
Almost all line work uses Fusion Prime Paraffin White as its base. Activate it before starting any session — working the paint to a creamy, toothpaste-like consistency before the first stroke.

- Spritz the Paraffin White with one or two sprays from the water bottle.
- Load the No. 3 round and work the paint in the lower, wetter area of the cake first.
- Pull some paint up into the drier area of the cake and continue working — this builds a consistent creamy paste rather than watery runny paint.
- Roll the brush between your fingers periodically to maintain the pointed tip during mixing.
- The paint is ready when it looks opaque on the bristle face and holds a smooth, creamy consistency.
Which Brushes to Start With
If you are building a kit from scratch, this is the order in which to acquire the brushes based on their practical value:
| Priority | Brush | Why Start Here |
|---|---|---|
| First | No. 3 Round | Does most line work for all beginner designs — teardrops, swirls, edging |
| First | 3/4 inch Angle | Covers all one-stroke and split cake designs — rainbows, crowns, butterflies |
| First | Flower Brush | Adds finishing flowers and leaves to every design with minimal effort |
| Second | No. 4 Round | Expands dot and teardrop range for larger faces and bolder designs |
| Second | 1/4 inch Angle | Adds roses and precise butterfly edging for smaller children |
| Second | 5/8 inch Angle | Increases coverage range for bigger faces and more sophisticated leaf work |
| Third | No. 2 Round | Fine detail work — useful when you have more time and want showcase-level finish |
The Leanne’s Rainbow Set of 7 includes the No. 2, No. 3, No. 4 round, the flower brush, 1/4, 5/8, and 3/4 angle brushes — the complete set in one purchase.
Frequently Asked Questions
What is the best face painting brush for beginners?
The best face painting brush for beginners is the No. 3 round brush — it handles teardrops, swirls, and standard line work across almost every beginner design. Pair it with the 3/4 inch angle brush for one-stroke rainbow and princess crown designs, and the flower brush for double-dip flowers.
What brushes do you need to start face painting?
Three core brushes cover the vast majority of beginner designs: the No. 3 round for teardrops and line work, the 3/4 inch angle for one-stroke designs, and the flower brush for double-dip flowers and leaves. The Leanne’s Rainbow Set of 7 includes all brushes in the range in one purchase.
What is the difference between a No. 3 and No. 4 round brush?
The No. 3 is the workhorse — it handles most teardrops, swirls, and standard line work. The No. 4 is larger, producing thicker teardrops, bigger dots, and more impact on children with larger foreheads. Both use the same press-and-lift technique.
What is a No. 2 round brush used for?
Fine detail — thin outlines, starbursts, delicate flourishes, and precise colour line work where the No. 3 would be too thick. Not an everyday event brush but adds professional finish to showcase designs.
What is the difference between the 1/4, 5/8, and 3/4 angle brushes?
Scale and coverage. The 1/4 inch is for small-scale designs and small children. The 5/8 gives more coverage per stroke for larger leaves and bigger butterfly outlines. The 3/4 is the primary one-stroke brush for rainbows, princess crowns, and flowing cheek art.
What is the flower brush used for?
Primarily the double-dip flower technique — load with white, dip the tip into a colour, stamp five petals returning to the same centre point. The same brush produces leaf shapes when rotated sideways.
What is the focal point principle in face painting?
All teardrops and lines within a cluster should point toward one imaginary centre point. When teardrops point in different directions the design looks scattered; when they all orient toward the same focal point the design looks intentional and professional.
Shop Leanne’s Rainbow Brushes
All brushes in this guide are available individually or as a complete set from Fusion Body Art:
→ Leanne’s Rainbow Set of 7 — complete set: No. 2, No. 3, No. 4 round, flower brush, 1/4, 5/8, and 3/4 angle
→ No. 3 Round — the workhorse brush for teardrops and line work
→ 3/4 inch Angle — the primary one-stroke and rainbow brush
→ Flower Brush (3/8 inch) — for double-dip flowers and leaf shapes
→ Fusion Prime Paraffin White — the recommended white for all line work and teardrops
Browse the full range at fusionbodyart.com/collections/leanne-s-collection-face-painting-brushes
Related guides: How to Paint Teardrops in Face Painting · Body Glitter — Complete Guide


